

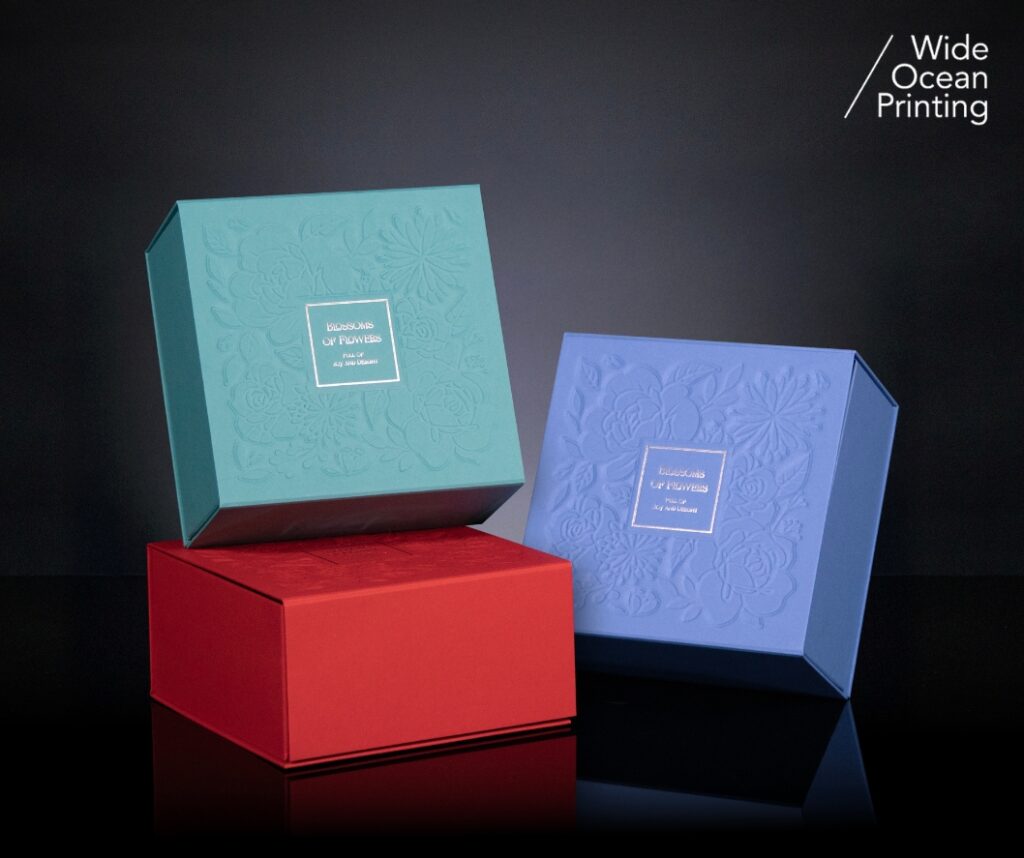
The raised contours created by relief embossing often appear to be an effortless dimensional effect on premium printed materials. Yet behind it lies a carefully controlled production process. Even without visual footage, the craftsmanship behind it can be clearly understood through each stage of execution. 🖨️

🔧 Step 1|Die Preparation
Embossing begins with creating a matched die set—male and female molds precisely engraved to define depth and contour. The sharpness of lines and the subtlety of the detailing determine how clearly the design rises from the paper surface.
📄 Step 2|Paper Assessment
Paper selection significantly affects the result. Thicker stocks allow for deeper impressions, while thinner sheets require controlled pressure to prevent cracking or distortion. Test runs help evaluate fiber response and structural stability.
⚙️ Step 3|Pressure & Registration
During embossing, precise pressure calibration is critical. Insufficient force produces shallow results, while excessive pressure risks damaging the sheet. Accurate registration is equally important, especially when embossing must align with printed artwork or foil stamping.
✨ Step 4|Quality Inspection & Finishing
After embossing, each sheet is examined for consistency, edge clarity, and surface stability. When combined with additional finishes, careful sequencing helps ensure that the dimensional integrity remains intact.
✨ Conclusion
Relief embossing is the outcome of precise coordination between material, tooling, and pressure. Each raised detail reflects controlled craftsmanship. As light moves across the surface, print is transformed into a tactile and dimensional experience.
“Every design deserves the right finishing.”
Reach out to our team for
tailored recommendations, sample references, and accurate cost estimates.