
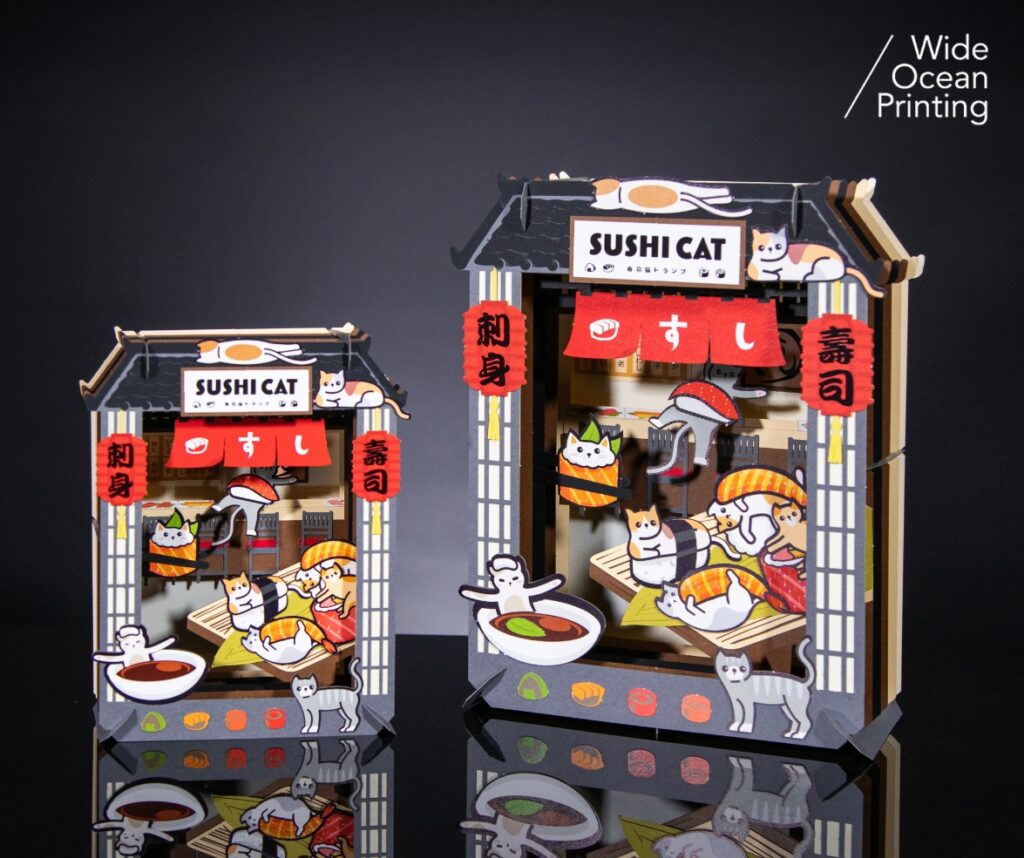
In print finishing, die-cutting is the process that brings a design from a flat printed sheet into its final form. Yet the quality of the finished piece depends not only on the artwork itself, but also on how precisely the die-cutting process is controlled. In practice, edge cracking, rough edges, and misalignment are three of the most common issues that can affect the final appearance. If they are not properly managed, even a well-printed sheet may lose its sense of quality in the final stage of production. 📦
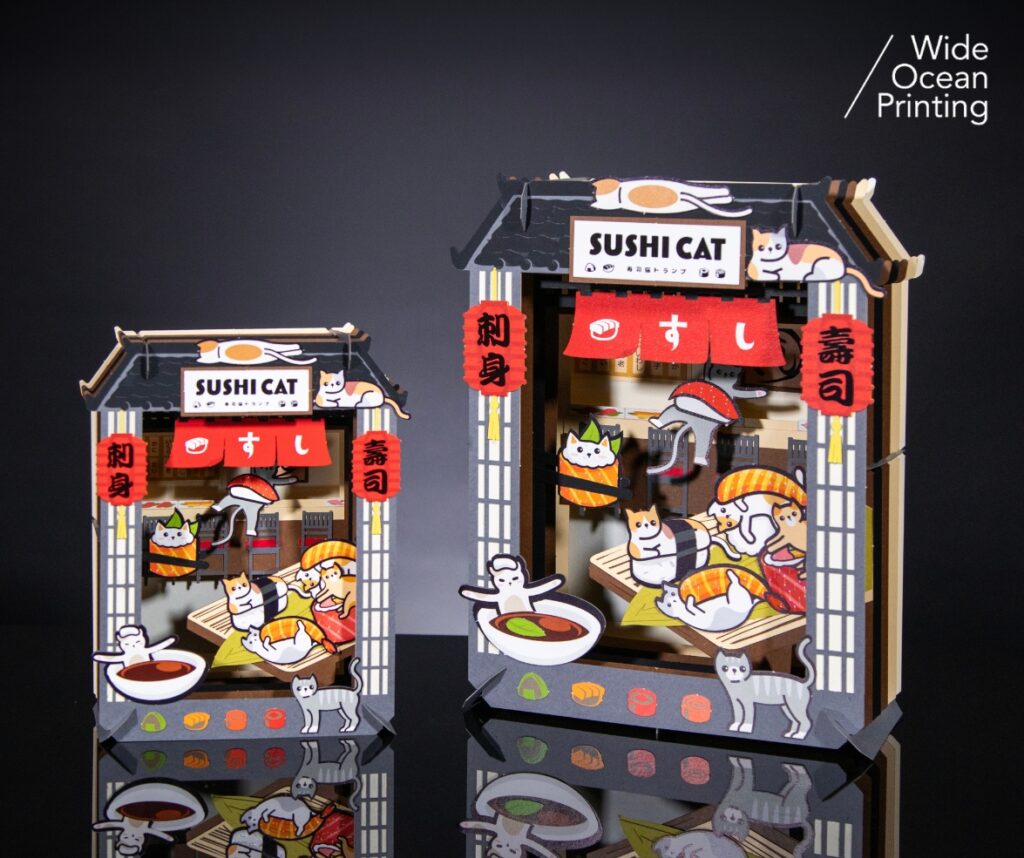
🟣 Issue 1|Edge cracking: when paper fibers break under pressure
Cracking often happens when cutting pressure is too heavy, when the paper is too brittle, or when cut lines are positioned too close to folds or outer edges. Once the die pressure exceeds what the paper fibers can withstand, the material may split along the cut edge. This tends to be more noticeable on thick stocks, dark papers, or laminated surfaces. To reduce this risk, it is important to choose a suitable stock and finish, control machine pressure carefully, and leave enough safety margin during the design stage to avoid concentrated stress around corners and tight areas. ✂️
🟡 Issue 2|Rough edges: when the cut is not clean enough
Rough edges are often caused by dull cutting rules, uneven pressure, or the natural fiber quality of the paper. If the blade is no longer sharp enough, tiny paper fibers may appear along the cut edge, making the result look untidy and sometimes affecting later assembly or gluing. In practice, regular die inspection, balanced pressure, and machine settings matched to the chosen material are all essential for reducing edge roughness. For premium packaging or custom-shaped cards, the quality of the cut edge plays a major role in the final sense of refinement. 📐
🟢 Issue 3|Misalignment: when die-cutting does not match the printed image
Misalignment is usually related to machine registration, paper movement, or file preparation. If the die-cutting position does not align accurately with the printed design, text may be cut too close to the edge, windows may shift, or borders may appear uneven. To prevent this, die lines, crease lines, and bleed areas should be clearly defined in the artwork, while machine registration and test runs must be properly completed before production. This becomes even more important in multi-process jobs, where small positioning errors may be amplified in later stages. 🛠️
✨ Conclusion
Reliable die-cutting depends on careful coordination between design, material, tooling, and machine setup. Cracking, rough edges, and misalignment may be common, but with proper preparation and control, they can be greatly reduced. When cuts are clean, positions are accurate, and structures stay intact, the final product naturally appears more refined and professional.
“Every design deserves the right finishing.”
Reach out to our team for
tailored recommendations, sample references, and accurate cost estimates.