
In print finishing, die-cutting is often the step where a design finally takes form. At first glance, it may seem like a simple process of cutting printed pieces into specific shapes. In reality, however, die-cutting is a highly coordinated operation that combines structural planning, precision control, and process coordination. Even without video footage, the workflow itself reveals how much craftsmanship is involved. 📦
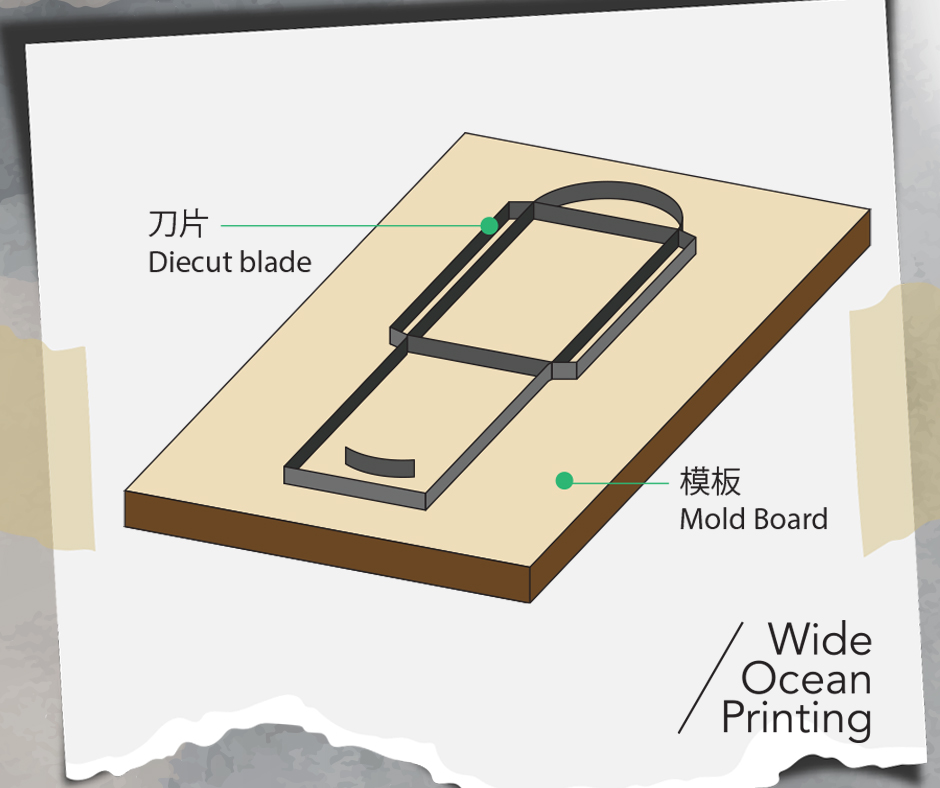
🟣 Step 1|Die making and structural planning
The process begins with creating the die board according to the product structure. At this stage, cut lines, crease lines, openings, and safety margins must all be clearly defined. It is essential to distinguish which areas should be cut through and which should remain as folding lines. For products such as packaging boxes, folders, or hanging cards, the accuracy of the die directly affects whether the finished piece can fold and assemble properly. 📐
🟡 Step 2|Machine setup and pressure calibration
Once the die is ready, the next stage is machine setup. This involves aligning the sheet position, matching the die to the printed artwork, and testing whether the pressure is evenly distributed. If the pressure is too light, cuts may not go through cleanly and creases may appear weak; if it is too strong, the result may be torn edges, overly deep marks, or surface damage. For this reason, test runs and machine adjustments are essential before full production begins. 🛠️
🟢 Step 3|Cutting, creasing, and forming
During actual production, die-cutting often performs cutting and creasing in one single press. This means each cut is not only about separating the shape, but also about preparing the exact fold positions for later forming. When a design includes custom outlines, windows, hanging holes, or multiple tight corners, the demand for precision becomes even higher. These details often determine whether the finished product looks sharp, folds cleanly, and holds its structure properly. ✂️
🔵 Step 4|Inspection and coordination with later processes
After die-cutting, the result is checked for clean edges, accurate cuts, natural crease, and whether waste material can be removed smoothly. If the product still needs folding, gluing, or assembly, the quality of die-cutting will directly affect both efficiency and final presentation. This is why die-cutting, though often considered a later-stage process, is in fact closely tied to the success of the entire production workflow. 📄
✨ Conclusion
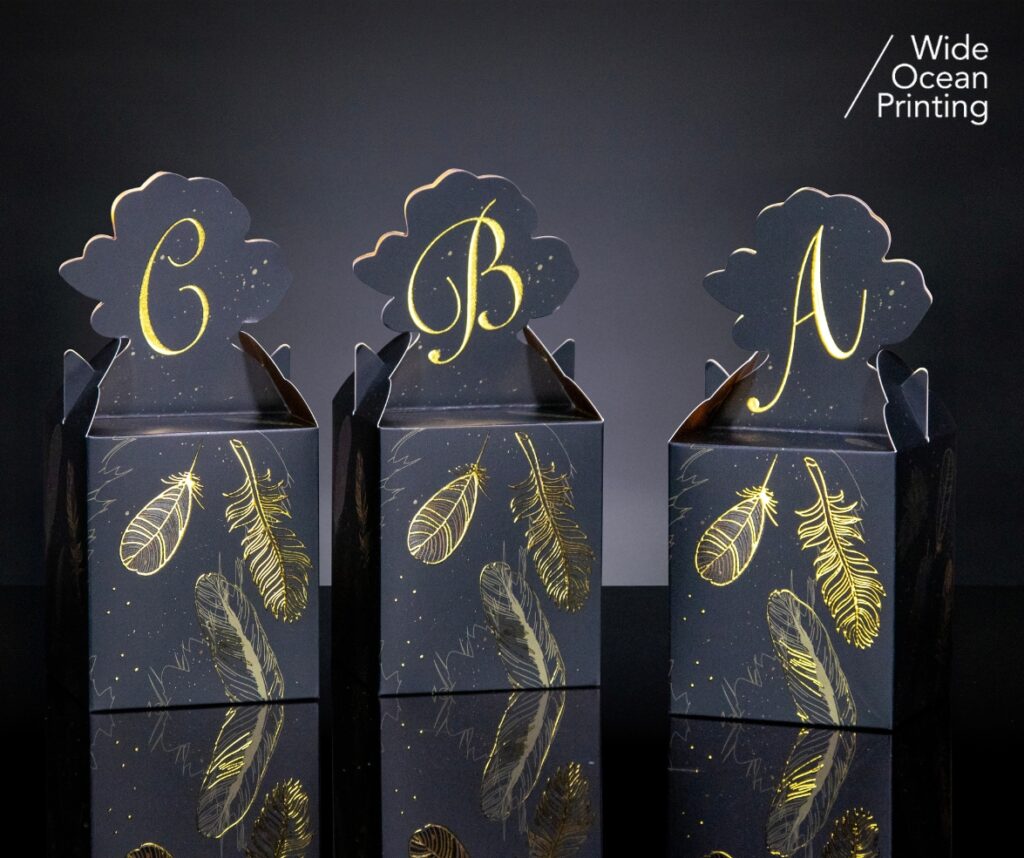
The process behind die-cutting may appear straightforward, but in practice, it depends on precision at every stage. From die preparation and machine alignment to pressure testing and final inspection, each step ensures that the design can successfully move from flat paper into structured form. When the cuts are clean, the creases are natural, and the shape is accurate, the finished product carries a stronger sense of professionalism and completion.
“Every design deserves the right finishing.”
Reach out to our team for
tailored recommendations, sample references, and accurate cost estimates.