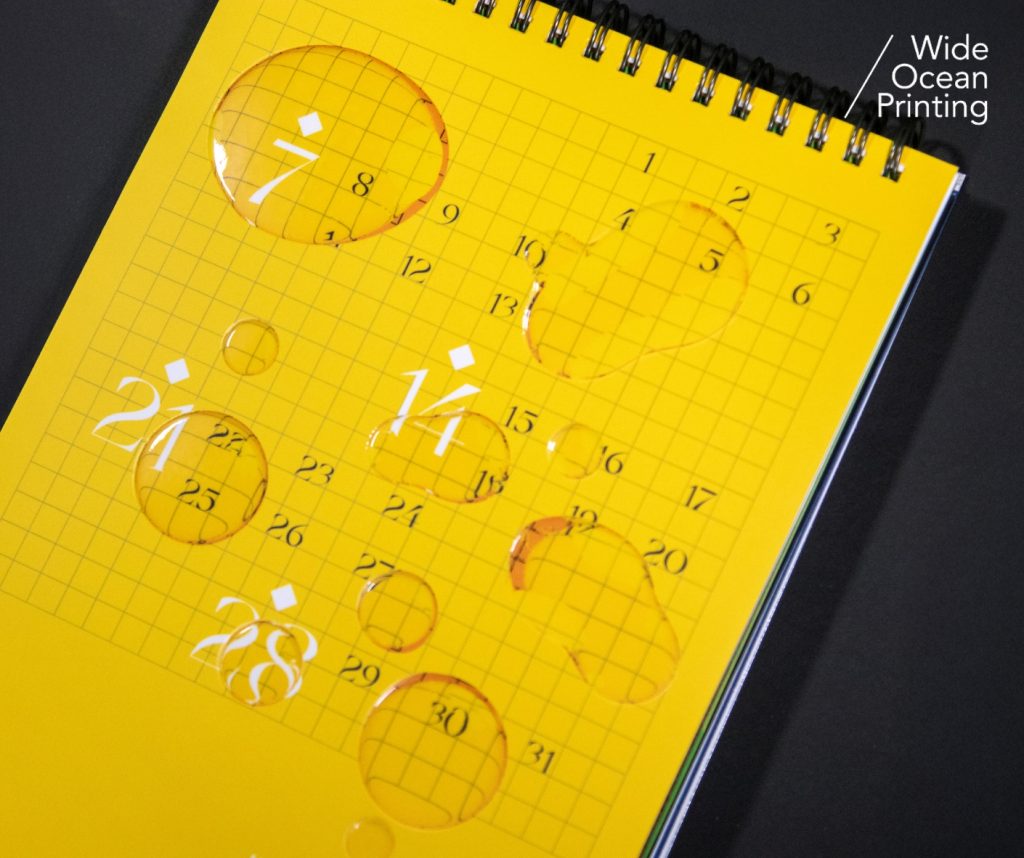
UV coating is often perceived as a simple glossy enhancement, yet behind every refined surface lies a carefully coordinated production process. Whether applied as full coverage or spot UV, the visual impact depends entirely on precise timing, accurate alignment, and curing control throughout the workflow.
🟡 Step 1|Printed Surface Preparation
UV coating is applied only after the printed sheets are fully dried. Printers inspect ink stability, surface cleanliness, and sheet flatness to ensure the UV varnish adheres evenly without defects such as pinholes or uneven gloss.
🟢 Step 2|UV Varnish Application
Depending on the design, UV coating may be applied across the entire surface or selectively. Spot UV relies on dedicated plates or screens to position varnish precisely on elements such as logos, headlines, or graphic details. Accurate registration at this stage is critical to the final result.
🔵 Step 3|UV Curing
Once coated, the sheets pass through UV lamps where ultraviolet light instantly hardens the varnish. Lamp intensity, conveyor speed, and temperature control all directly determine surface smoothness, durability, and visual clarity.
🟣 Step 4|Inspection and Finishing Readiness
After curing, sheets are inspected for gloss consistency, edge definition, and surface integrity. If additional processes such as foil stamping or embossing are planned, the stability of the UV layer becomes essential to the overall finishing success.
✨ Conclusion
UV coating is more than a visual highlight—it is the result of disciplined process control and technical expertise. Each polished surface reflects the precise coordination between printing, coating, and curing—elevating both design impact and perceived quality.
“Every design deserves the right finishing.”
Reach out to our team for
tailored recommendations, sample references, and accurate cost estimates.